
What Is ATAK?
ATAK (Android Team Awareness Kit) is a situational awareness and mapping application originally developed for military use. The civilian version, ATAK-CIV, provides powerful offline mapping, GPS navigation, team tracking, and communication tools for emergency response, search and rescue, disaster relief, and community resilience.
ATAK can work with or without cell towers or internet access. You can see your location, navigate using offline maps, track team members, share waypoints, and communicate over multiple data links, including Meshtastic mesh networks.
Prerequisites
ATAK is Android-only, so you'll need an Android device. An older phone or tablet works fine as a dedicated ATAK End User Device (EUD). You don't need an active cell plan. After following this guide, ATAK can work over Wi-Fi, mesh networks, or in airplane mode with GPS and Bluetooth enabled.
Required: Android 5.0 (API 21) or later and a graphics processor that supports GLES 3.0 (this includes most Android devices).
Recommended: 64GB+ storage for offline map data, external battery pack, screen protector, and a rugged case if you're using this in the field.
Step 1: Install ATAK
You have two installation options depending on whether you want access to the latest official .apk files or prefer simplicity. Either way, ATAK will ask for a LOT of permissions on your device. Grant all of them, or you'll likely run into problems.
Option A: TAK.gov Account (Recommended)
The official route gives you access to the latest ATAK releases & plugins.
- Go to tak.gov and click "CREATE AN ACCOUNT"
- Fill out your email address and click "REGISTER"
- Follow any additional instructions & wait for account approval
- Once approved, log in to TAK.gov and select ATAK-CIV from the "Products" section
- You want ATAK 5.6 unless you have a reason to use an older version (Mar 2026)
- Click "DOWNLOAD ATAK-CIV PRODUCT/PLUGINS FOR THIS VERSION"
- Under "Products" -> "ATAK 5.6.0" select the one that ends with "civ-release.apk"
- Under "Plugins" select "DataSync 5.6.0" "GRG Builder 5.6.0" and "VNS 5.6.0"
- Click "Submit" at the bottom of the page & download the resulting .zip to your Android device
- Extract the .zip and install the ATAK .apk first & then the plugins (DataSync, GRG Builder, VNS)
Option B: ATAK-CIV from Play Store
The simpler option if you don't want to deal with TAK.gov registration or need the latest version.
- Open the Play Store on your Android device
- Search for "ATAK-CIV"
- Install the civilian version of ATAK
- Install the following ATAK plugins from the Play Store: DataSync, GRG Builder, VNS
Step 2: Set Your Callsign & Enable Your Plugins
Your callsign is how other ATAK users will identify you. Set this immediately after installation.
- Open ATAK
- Tap the three lines (hamburger menu) in the upper right corner
- Tap "Settings"
- Tap "Callsign and Device Preferences"
- Tap "Callsign Preferences"
- Tap "My Callsign" and enter your callsign
- Your callsign will appear on the map as your position marker and will be visible to other ATAK users you're networked with
Enable Plugins:
- Tap the three lines (hamburger menu) in the upper right corner
- Tap "Plugins"
- Under "Status" check the "Loaded" box for all the plugins you want to use (DataSync, GRG Builder, VNS)
Step 3: Install XML Files for Offline Maps
- XML files = a variety of map sources & providers for use in ATAK
- Tilesets = downloaded map imagery for offline viewing (the actual maps)
- VNS regions = downloaded road data for offline routing
The following XML files define high-resolution map tilesets optimized for ATAK that you can download from various map providers:
- Get the latest XMLs (v1.5.0 as of Mar 2026): https://github.com/joshuafuller/ATAK-Maps/releases/download/v1.5.0/atak-maps-1.5.0.zip
- Navigate to 'Downloads' in your Android device's file manager
- Open the
atak-maps-1.5.0.zipfile and extract its contents - Move all extracted map files from the
atak-maps-1.5.0/folder to theInternal storage/atak/imageryfolder
Note: If you don't see the Internal storage/atak folder, open ATAK once and then close it.
These map providers will now be available in ATAK's map source selector.
Step 4: Select Your Preferred Map Source
ATAK supports multiple map layers and sources. You can switch between them or overlay them depending on what you need to see.
Important: Selecting a map source doesn't automatically make it available offline. Offline use requires cached tiles (Steps 5 & 6) along with the XML files from Step 3.
- Tap the Maps icon (looks like an unfolded paper map) in the upper right
- Select "Google Hybrid" (satellite imagery with road overlays) or any other map source you prefer
- You can enable multiple layers simultaneously for different contexts
Step 5: Download Map Tiles for Your Area
Even with map sources selected, you need to cache map tiles for offline use. ATAK lets you define a geographic area & download map tiles at multiple zoom levels.
- Tap the Maps icon (looks like an unfolded paper map) in the upper right
- Near the bottom of the screen, look for "Map Source"
- Tap the white arrow near the bottom right corner
- Tap "Select Area"
- Choose your selection tool:
- Rectangle: Quick box selection
- Free Form: Draw a custom boundary
- Lasso: Freehand selection
- Map Select: Pre-defined regional boundaries
- Select your area on the map
- Set the coarse slider to 19m
- Set the fine slider to 1m
- This configuration keeps you under ATAK's 400,000-tile per-tileset download limit while providing good detail. 19m coarse gives you a good area overview; 1m fine is detailed enough to recognize buildings and terrain features
- Tap "Download"
- Quick & wide: 76m → 4m
- Balanced: 19m → 1m
- High detail small area: 9m → 0.3m
Step 6: Create the Tileset
After initiating the map tile download, you'll configure how the tileset is saved and used.
- When prompted after tapping "Download", select "Create a new tileset"
- In the "New Layer Name" field, enter a descriptive name for the area (e.g., "Home_5mi", "County_South", "BOL_Area")
- Check the box for "Suggest that this layer be used as an overlay that can be displayed over other map sources when imported. Note: this will add '.ovr' to the filename and potentially reduce the range of the data saved"
- This overlay option allows you to layer this tileset on top of other maps for maximum flexibility
- Confirm and let the download complete
Step 7: Download VNS Regions for Offline Vehicle Routing
This requires the VNS plugin. Think of it like offline navigation that can automatically plan vehicle routes for you.
- Open ATAK's main menu (three lines, upper right)
- Tap "VNS"
- Tap "Manage Offline Regions"
- Select your geographic region from the list
- Tap the "Download" button
- Wait for the download to complete
Step 8: Connect to a TAK Server
TAK servers enable network-based team tracking, chat, and data sharing. You can connect to a public server, a private community server, or run your own.
- Open ATAK's main menu (three lines, upper right)
- Tap "Settings"
- Tap "Network Preferences"
- Tap "TAK Servers"
- Tap the 3 dots in the upper right and then "Add" or "Quick Connect" based on your TAK server provider's instructions
- Enter the server details, authentication & certificates from your TAK server provider
- Tap "OK" to save & enable the connection
Once connected to a TAK server, you'll see other connected users on your map, can send and receive chat messages, and share location data and tactical information in real-time.
Step 9: Integrate Meshtastic
Meshtastic integration allows ATAK to share position and chat data over LoRa mesh networks without internet or cell service. This is ideal for off-grid operations.
- Meshtastic Android App: v2.7.13
- Meshtastic ATAK Plugin: v1.1.40
5-Minute Checkout (Verify It Works)
- Get a GPS lock (blue chevron updates while moving)
- Airplane mode test: confirm cached tiles/local tilesets still render
- Drop a marker, rename it, and re-find it later
- Open GeoChat and send a message (server/mesh if configured)
- If using Meshtastic: confirm the plugin shows connected and you see at least one update
Using ATAK: The Basics
Now that you have ATAK installed, configured, and networked, here are the essential operations:
Navigation
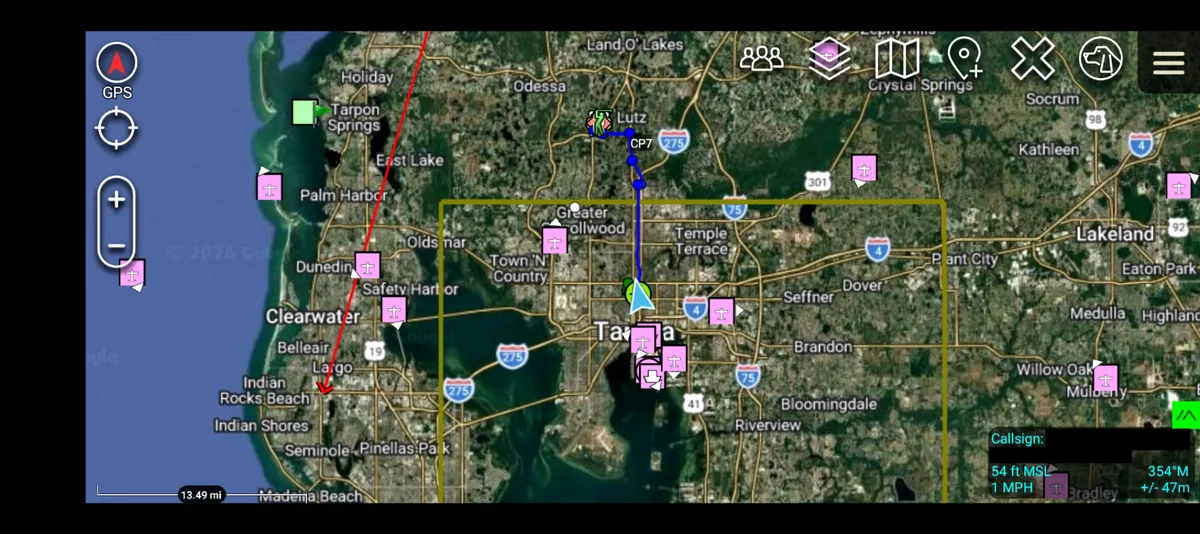
Your position is marked on the map as a blue chevron (pointing in your direction of travel). The map auto-follows your location. To navigate to a waypoint, tap and hold a location on the map, select "Navigate" from the menu, and ATAK will provide bearing and distance.
Adding Markers
Tap and hold anywhere on the map to create a marker. You can add notes, change the icon, and share the marker with your team. Markers are color-coded by category (waypoint, hazard, resource, etc.).
Chat and Messaging
Access chat through the "GeoChat" menu at the top of the screen. You can send direct messages to specific users or broadcast to all connected users. Messages sync across TAK servers and Meshtastic networks if configured.
Team Tracking
When connected to a TAK server or Meshtastic network, you'll see other users' positions on the map in real-time. Tap their icon to see details, send messages, or navigate to their location.
Drawing and Planning
Use the drawing tools (main menu → "Drawing") to create routes, boundaries, sectors, and tactical graphics. These can be shared with your team for coordination.
Next Steps
You now have a functional ATAK setup with offline maps, navigation capability, and the foundation for team networking. From here, you can expand your capabilities:
- Set up a private TAK server for your team or community (future guide)
- Integrate Meshtastic mesh networking for off-grid operations (see the full guide)
- Practice using ATAK regularly so you're proficient when you need it
- Build out a network of ATAK users in your area
- Experiment with different plugins and data packages
- If you are experiencing issues, check our Gotchas section or FAQ page
ATAK is a powerful tool, but it's only as useful as your proficiency with it. Spend time learning the interface, practicing navigation, and testing your network connections before you need them in an emergency.
Troubleshooting
- GPS not working: Ensure location permissions are granted in Android settings. ATAK needs "Allow all the time" location access. GPS can take several minutes to acquire satellites on first use.
- Maps not showing offline: Verify map tiles are downloaded and stored in the correct folder. Check available storage space.
- Can't connect to TAK server: Verify server address and port. Check firewall rules. Ensure SSL/TLS settings match server requirements.
- Meshtastic not connecting: Check Bluetooth pairing. Verify Meshtastic device firmware is compatible with the ATAK plugin version.
Additional Resources
For more information on ATAK and related technologies:
- TAK.gov - Official TAK product suite
- ATAK Maps on GitHub - Offline map tile collections
- Chaos Koalas FAQ - General emergency communications questions
- Contact Us - Get help with your setup